
Freelancers and small business owners lose hours every week to repetitive tasks. You copy data between apps, send the same follow-up email, or post the same update on five platforms. n8n is a visual automation platform that can handle these tasks for you. This guide shows you how to build your first n8n workflow in 20 minutes. You do not need to write code. If you are unsure whether n8n fits your needs, read our n8n review.
n8n is an open-source automation tool. It connects over 400 apps and services. You create workflows by dragging nodes onto a canvas. Each node performs one task. The cloud free plan includes 5 active workflows and 2,500 executions per month. That is enough to test and run simple automations without paying. You can also self-host n8n on your own server for unlimited workflows. Learn more at n8n.io.
In this tutorial, you will build a workflow that watches for new email and sends a Slack message. You will learn how to add a trigger, connect an action, and test the flow. By the end, you will understand the basic structure of any n8n automation. If you later want to run n8n on your own VPS, check this guide on self-hosting n8n on a $5 VPS.
What You’ll Need
- n8n cloud account (free)
- A Gmail account
- A Slack workspace (or alternative app)
- A modern web browser
How Do You Build Your First n8n Workflow in 20 Minutes?
- Create a free n8n cloud account
Visit n8n.io and click the sign up button. You can register with email or use a Google or GitHub account. The signup process takes less than two minutes. After you confirm your email, you land on the n8n dashboard. This dashboard is where you manage all your workflows.
The n8n cloud free plan includes 5 active workflows and 2,500 executions per month. That is enough for a first workflow and a few test runs. If you plan to run many automations, consider the Starter plan at $24 per month. You can also self-host n8n for free on your own hardware. Read our comparison of n8n cloud vs self-hosting to decide what fits your budget.
Take a moment to explore the left sidebar. You will see options for Workflows, Credentials, and Executions. Do not worry about all the settings yet. You only need to know how to create a new workflow. That is what you will do in the next step.

- Pick a simple automation idea
Start with a single trigger and a single action. A trigger is an event that starts the workflow. An action is the task the workflow performs. A good first example is a webhook receiving data and posting a message to Slack. Another idea is a Gmail trigger that creates a Trello card. The goal is to keep it small.
Why start small? Complex workflows have many nodes and branches. If something fails, it is harder to debug. A two-node workflow teaches you the core concepts. Once you understand triggers and actions, you can expand. For a ready-made idea, see our social media cross-posting template. That template uses a trigger to post to multiple platforms at once.
For this tutorial, we will use the Gmail trigger and the Slack action. You can replace these with any apps you use. The steps are the same. Every workflow in n8n follows this pattern: trigger, then action, then test.
- Create a new workflow and add a trigger node
From the n8n dashboard, click the button that says New Workflow. A blank canvas opens. On the right side, you see a panel with node categories. Click the plus icon to add a node. Search for Gmail. Select the Gmail trigger node called On new email. This node will run the workflow every time a new email arrives in your inbox.
Drag the node onto the canvas. You will see an empty configuration panel on the right. n8n shows a message asking you to connect your Gmail account. Click the Connect button to add your credentials. You will be redirected to Google to authorize access. This is secure. Your credentials are encrypted and stored in n8n.
After connecting, the node shows a test button. Click it to fetch a sample email. This step is important. It confirms the trigger works and gives you data for the next node. If you prefer a different trigger, like a form submission, our email follow-up automation template uses a webhook trigger.
- Configure the trigger node settings
After connecting Gmail, you can filter which emails trigger the workflow. Use the Poll Time setting to decide how often n8n checks your inbox. The default is every minute. That is fine for testing. You can also add a filter for specific senders or subjects. For now, leave the defaults. The goal is to get a working flow.
One common mistake is connecting the wrong Gmail account. Make sure you use the inbox you intend to monitor. If you have multiple Google accounts, log into the correct one during authorization. n8n stores credentials per user, so you can always disconnect and reconnect. Check the official n8n documentation for details on Gmail node parameters.
You should now see a sample email in the node’s output panel. The output is in JSON format. It contains fields like subject, sender, and body. You will use these fields to map data into the action node. This mapping is the key to making your workflow useful.
- Add an action node to send a message
Click the plus icon next to the Gmail trigger node. Search for Slack. Select the Slack node. The most common action is Send Message. Drag it onto the canvas. n8n automatically draws a line from the trigger to the action. This line means data flows from the trigger to the action.
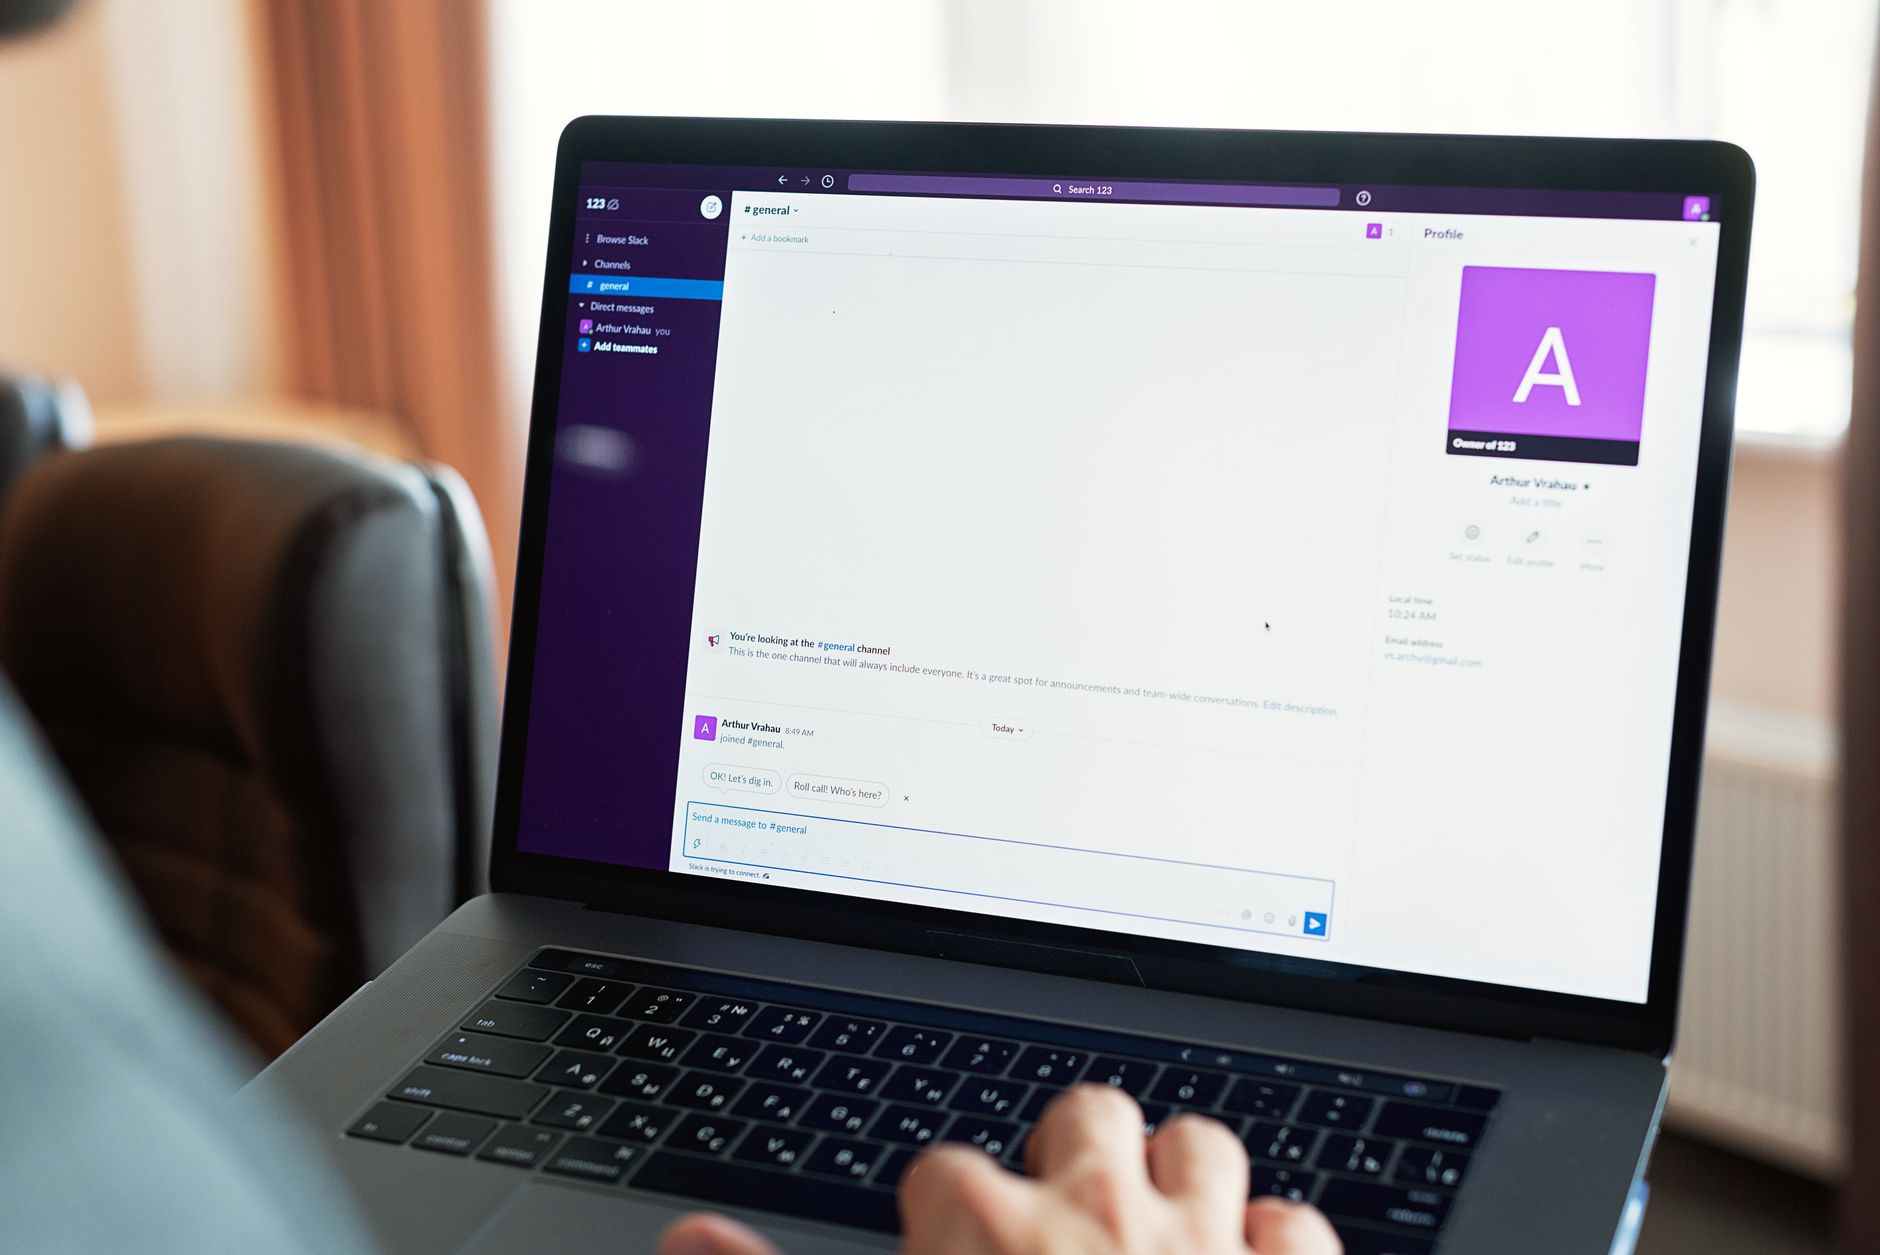
Now connect your Slack account. Click the Connect button and authorize Slack. Choose the channel where you want to post the message. In the message text field, type a simple message. For example, ‘New email received’. That sends the same text every time. But you can make it dynamic.
To pull the email subject into the Slack message, click the gear icon or the expression editor. Use the expression {{ $json.subject }}. This tells n8n to insert the subject from the trigger output. You can combine text and expressions. For example, ‘New email: {{ $json.subject }}’. This is the foundation of automation. For more complex data handling, see our invoice processing automation.
- Test the full workflow from start to finish
Before activating, test the entire workflow manually. Click the Execute Workflow button at the bottom of the canvas. n8n runs the trigger and action with sample data. Go to your Slack channel. You should see a new message with the email subject. If you see an error, check the Execution log.
The Execution log shows each node’s input and output. Find the failed node and read the error message. Common errors include incorrect channel names or missing permissions. Fix the issue and test again. Do not skip this step. A workflow that fails silently can cause missed messages.
Testing also reveals timing issues. If your trigger polls every minute, a new email may take up to a minute to appear. That is normal. For instant triggers, use webhooks. Our guide on lead generation automation shows how to use webhooks with form tools.
- Activate the workflow and monitor executions
Once the test passes, click the toggle switch to activate the workflow. The switch turns green. Your workflow is now live. n8n checks your Gmail account every minute and sends a Slack message for each new email. You can monitor runs in the Executions tab.
Keep an eye on your execution count. The free plan allows 2,500 executions per month. One email equals one execution. That is plenty for personal use. If you run out, the workflow stops. You can upgrade or self-host. Our lead generation automation guide shows advanced webhook patterns.
Set up error notifications as well. Go to the workflow settings and add an error trigger. That way you get an email or Slack message if the workflow fails. This prevents silent failures. Over time, you can add more steps.
- Expand your workflow with more nodes
Now that you have a working two-node automation, you can add branches. For example, filter emails by sender. Add an IF node between the trigger and action. The IF node checks a condition and routes data accordingly. This is how you build complex logic without code.
You can also add multiple actions. After sending a Slack message, save the email to Google Sheets. Or use an AI node to draft a reply. n8n has native AI nodes for OpenAI and other providers. Our AI email automation guide shows how to add AI to your workflow.
Remember to keep each new step small and test as you go. Adding ten nodes at once makes debugging difficult. Build incrementally. When you are ready, explore more templates like the email follow-up automation template.
Red Flags & Warnings
- 🚨 Never activate a workflow until you have run at least three successful tests.
- 🚨 Keep API keys and credentials private. Never share them or store them in plain text.
- 🚨 Watch your free tier execution count. One workflow with a high-frequency trigger can exhaust 2,500 executions quickly.
- 🚨 Do not connect your production email or Slack workspace to a test workflow. Use a test account or separate channel first.
- 🚨 If you use webhooks, ensure the URL is HTTPS and not exposed publicly without authentication.
- 🚨 Set up error notifications before going live. Silent failures are the biggest risk in automation.
Frequently Asked Questions
Do I need coding skills to build an n8n workflow?
No. n8n uses a visual drag-and-drop interface. You can build workflows by connecting nodes. Some advanced setups use JavaScript expressions, but basic automations require no code.
What is the n8n free plan limit?
The n8n cloud free plan includes 5 active workflows and 2,500 workflow executions per month. You can test and run small automations without paying. Self-hosting n8n removes these limits.
Can I self-host n8n instead of using cloud?
Yes. n8n is open-source and can be installed on your own server or a cheap VPS. Self-hosting gives you unlimited workflows and executions. See our guide on self-hosting n8n on a $5 VPS.
What is a good first n8n workflow?
A simple two-node automation like when a new email arrives, send a Slack message is ideal. It teaches triggers, actions, and data mapping without overwhelming complexity.
How do I connect n8n to other apps?
Each app has a node in n8n. You add the node, click Connect, and authorize your account. n8n stores credentials securely. Most popular apps have pre-built nodes.
What if my workflow fails to execute?
Check the Executions tab and inspect the error log. The log shows which node failed and why. Fix the issue, then test again. Set up error notifications to prevent silent failures.
What Should You Remember?
- Start with one trigger and one action: Keep your first workflow simple to learn the basics.
- Use the free tier smartly: 5 active workflows and 2,500 executions per month are enough for testing.
- Test before activating: Run the workflow manually at least three times to catch errors.
- Map data with expressions: Use {{ $json.field }} to pass trigger data to action nodes.
- Monitor executions regularly: Check the Executions tab to ensure your workflow runs as expected.
- Self-host for scale: When you outgrow the free plan, self-host n8n on a cheap VPS for unlimited use.
This article is for general information only. Review your workflow data and the permissions you grant to connected tools before you enable automation. Some platforms have free-tier limits and paid plans that change over time , always check current pricing and plan limits on the vendor’s site before you commit.