Most freelancers and small business owners lose warm leads because they forget to follow up. A single pitch or proposal rarely earns a yes on the first send. Email follow-up automation solves this by sending timed, personalized reminders after a trigger. You do not need to write code. You can build a complete sequence in n8n, Make, or Zapier. This template walks you through the steps. For a deeper look at AI assisted email writing, read how to automate email with AI. Follow along and you will save several hours every week.
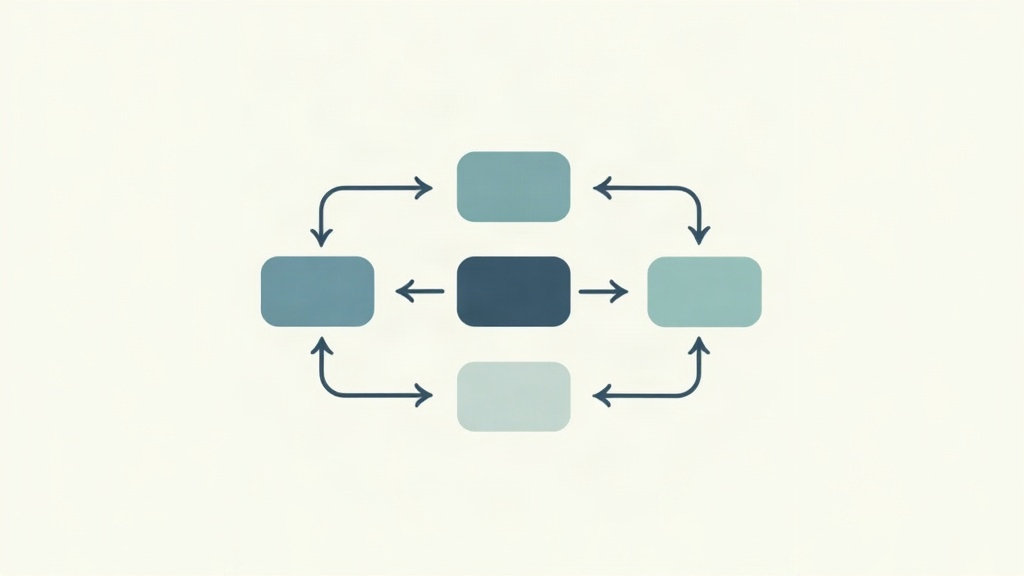
Manual follow-ups have two problems. You forget them, or you send them too late. Automated sequences fix both issues. They also keep your name in front of prospects without extra effort. The workflow uses a trigger, a delay, a message template, and conditional branches. These four parts repeat in almost every no-code email automation. You can adapt the same logic to invoice reminders, customer onboarding, or cold outreach. Once you learn the pattern, you can reuse it across projects. That consistency builds trust and response rates.
This guide uses a simple lead follow-up example. You can replace the lead source with any app you already use. We cover platform limits, delay timing, merge tags, stop rules, and testing. Each step builds on the previous one. Do not skip the testing step. A small mistake in a merge field can ruin your sender reputation. You will also see how to connect the workflow to a spreadsheet or CRM for tracking. The result is a repeatable email follow-up machine that runs on autopilot.
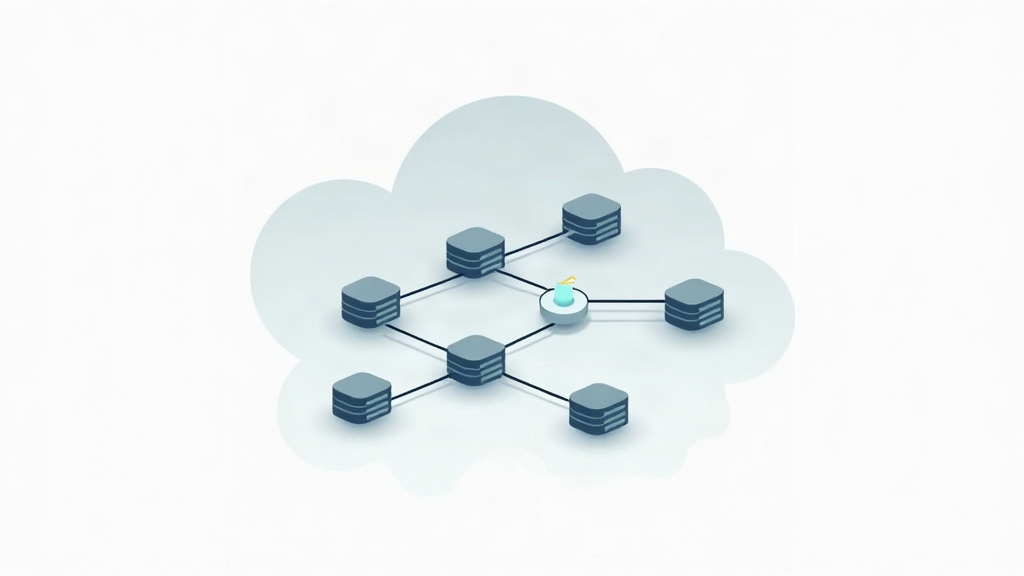
Before you start, choose a no-code platform. n8n and Make offer generous free tiers. Zapier is simpler but its free plan runs out quickly. We cover exact limits in Step 1. Use a dedicated sender address, not your main inbox. Keep your unsubscribe link visible in every email. A dedicated sender address protects your main inbox from replies and spam flags. You can use Google Workspace aliases or a domain email. If you use cold outreach, warm up the address for two weeks before sending. Check Make’s documentation for scenario limits. Now let’s build the template step by step.
What You’ll Need
- n8n or Make or Zapier account
- Gmail/Outlook or CRM connection
- A lead list with email addresses
- A Google Sheet or Airtable for tracking
How Do You Automate Email Follow-Ups?
- Choose a no-code automation platform and confirm limits
First, decide between n8n, Make, and Zapier. n8n is flexible and can be self-hosted. Make uses a visual scenario builder. Zapier has the easiest setup but fewer free tasks. For follow-up sequences, n8n and Make give you more control over branching and delays. Read this n8n review before you commit. Your choice affects how you build the delay and condition steps.
Free plan limits matter more than you think. Make’s free plan includes 1,000 operations per month. A single follow-up run may use several operations, such as search, filter, and send. Zapier’s free plan offers 100 tasks per month. That can disappear during testing alone. n8n’s cloud free plan includes 5 active workflows. Check n8n’s official documentation for current limits. These numbers change, so verify before you plan volume.
Pick a trigger event. Most follow-up workflows start with a new row in Google Sheets, a new Gmail sent email, or a new CRM contact. If you follow up on sent messages, use a sent email trigger. If you follow up on incoming leads, use a form or CRM trigger. Connect the app and confirm authentication. A bad trigger breaks everything downstream.
After you choose the platform and trigger, create a new workflow or scenario. Name it something clear like ‘Follow-up Sequence: New Leads’. Do not use vague names like ’test’. Clear naming helps when you return months later. Move to Step 2 to connect your source.
- Connect your email source and define the trigger event
Your trigger starts the sequence. Common triggers are new Gmail sent email, new spreadsheet row, new HubSpot contact, or new Typeform response. Pick the one that matches where your lead data lives. If you follow up on sent emails, use a sent email trigger. If you follow up on incoming leads, use a form or CRM trigger. The trigger determines which fields you can use later.
Connect the source app. For Gmail, you need OAuth access. For Google Sheets, you need the specific tab and header row. For a CRM, you may need an API key. Connect a test account and pull sample data. This confirms the right fields show up. If the sample data has missing names, you will see it now, not after sending.
Watch for duplicate triggers. If your workflow can run twice for the same lead, add a deduplication step. Store each email in a Google Sheet or Airtable. Then check against that list before sending. We cover lead enrichment in lead enrichment automation workflow. This helps you avoid annoying the same person twice.
Finally, map the email address, first name, and company. These fields become merge tags later. If a field is missing, use a default value like ’there’ or blank. Move to Step 3 to set the timing.
- Set the follow-up cadence with delay or wait nodes
The cadence is the heart of the template. Do not send all follow-ups immediately. People need time to read. For cold outreach, wait 3 days before the first follow-up. For invoices, wait 7 days. For warm leads, 2 days is often enough. Longer delays feel more human and less pushy.
In n8n, use a Wait node. In Make, use a Sleep module or scheduled scenario. In Zapier, use Delay by Zapier. Set the delay in days or hours. For example, delay for 3 days. Then add another delay before the second follow-up. You can chain several Wait nodes for a full sequence. This gives you a predictable cadence.
The catch is that long delays may conflict with free plan limits. Some tools cap how long a single run can stay active. Check your platform’s docs before building a 30-day sequence. A better pattern stores the follow-up date in a sheet. Then a daily scheduled workflow checks which dates are due.
You also need a counter or stage field. This tells the system which follow-up to send. Add a ‘followup_stage’ column that starts at 1. After each send, increment it. For a beginner walkthrough, see build your first n8n workflow in 20 minutes.
- Build the follow-up message template with merge fields
Write the email copy once. Use merge tags for personalization. Examples are {{firstName}}, {{companyName}}, and {{lastEmailDate}}. These pull from the trigger data. Keep the subject line under 50 characters. Start with value, not ‘just checking in’. A good subject mentions a specific problem or question.
Write three versions if you send three follow-ups. The first can reference your original email. The second can add a case study or link. The third can be a polite breakup email. A breakup email often gets the most replies because it creates a small fear of loss. Keep each email under 120 words.
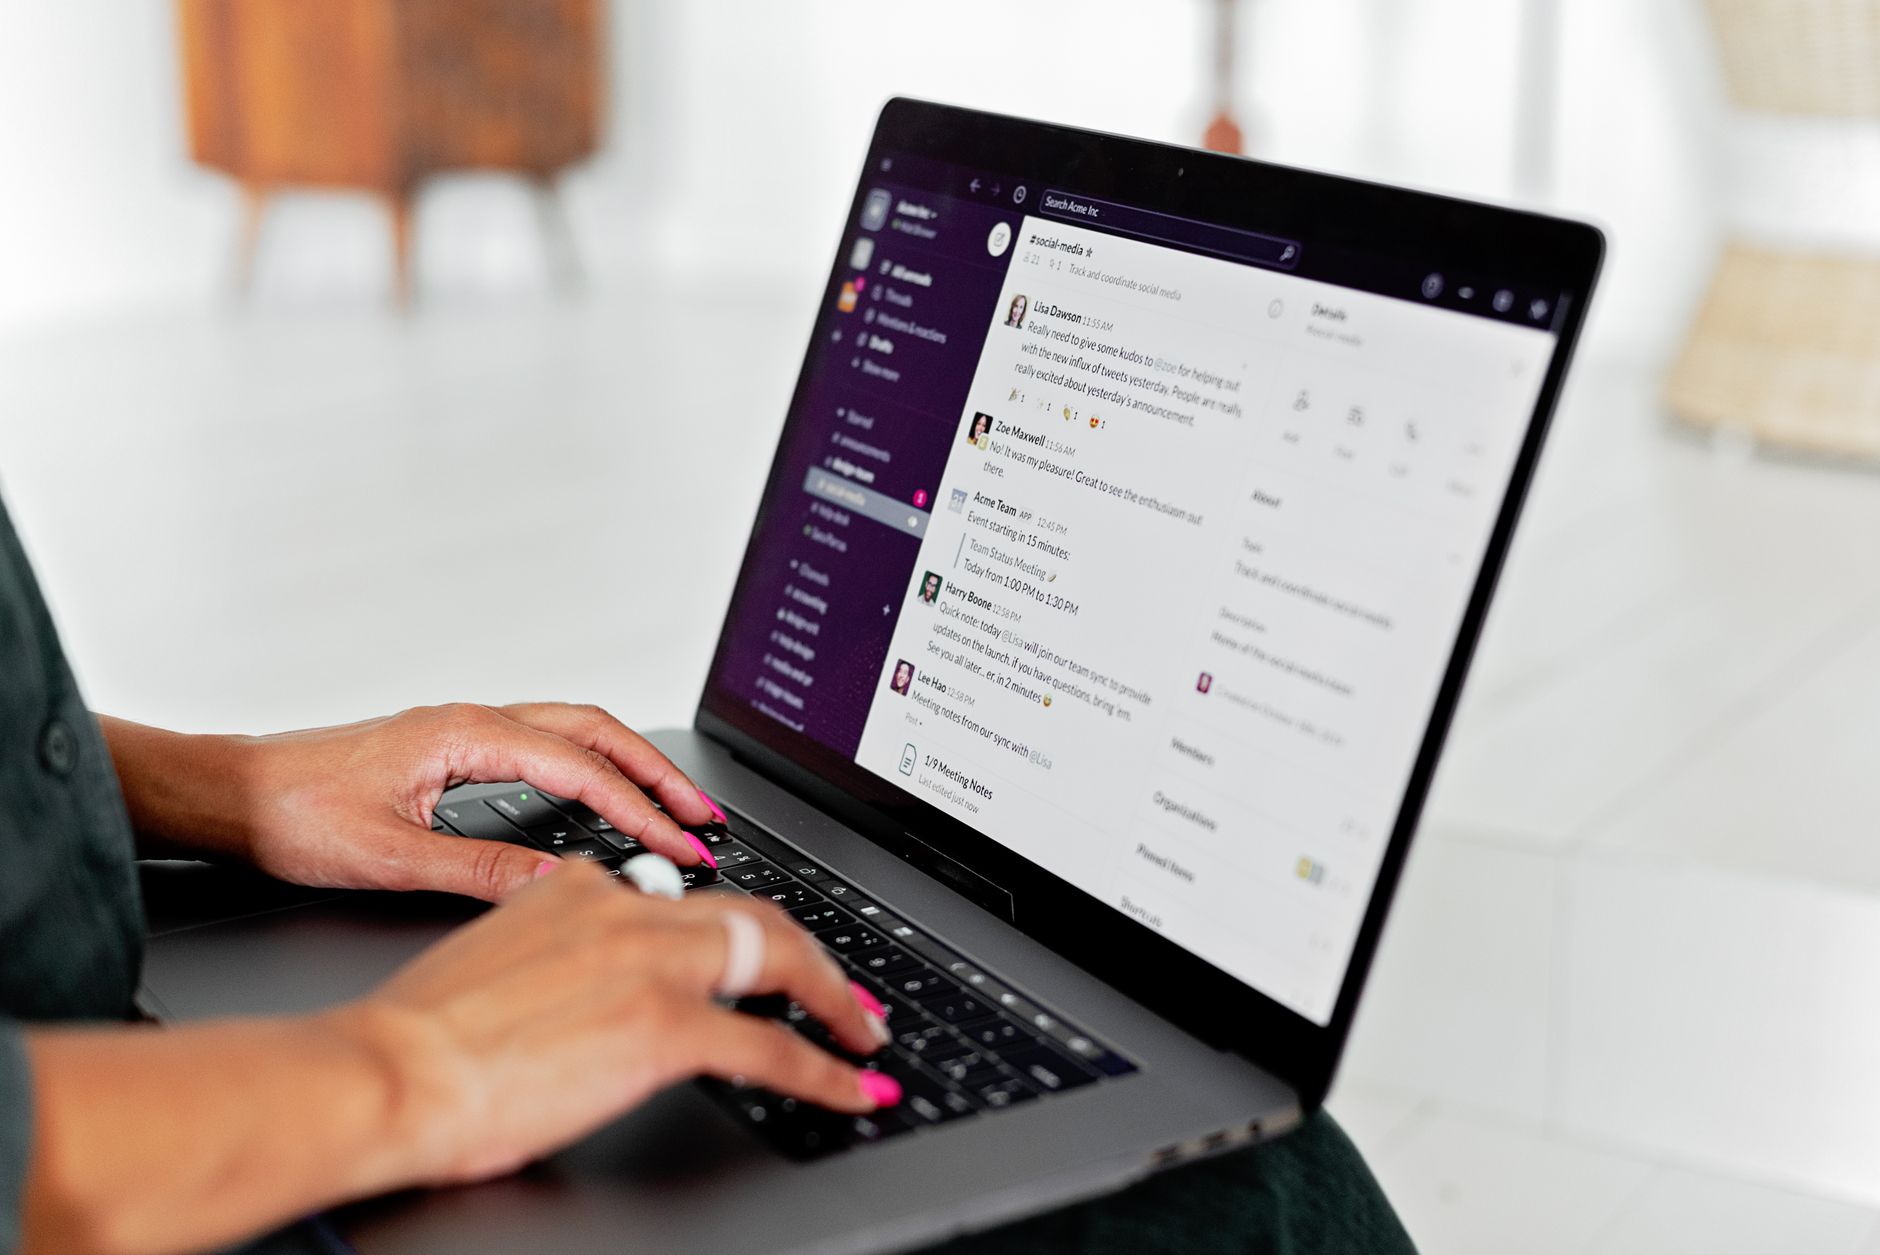
Avoid spam words like ‘free’, ‘guarantee’, and ‘act now’. Use plain text instead of heavy HTML. A single link is enough. Include an unsubscribe line. This is required by CAN-SPAM and GDPR. Your email provider or automation tool may block sends without it. Add an image of your email draft for reference.
- Add conditional branches for replies and non-replies
The branch is what makes automation intelligent. After the delay, check if the person replied. In n8n, use an IF node. In Make, use a Router. In Zapier, use Paths by Zapier. The condition could be ‘has reply email since sent date’. This check runs before every new follow-up.
If the reply condition is true, route to a stop or a thank-you message. You do not want to send a follow-up to someone who already replied. This is the most common beginner mistake. If no reply, continue to the next send step. You can add multiple branches for different reply types.
You can also branch by email domain, lead score, or stage. For example, hot leads get a shorter delay. Cold leads get the full sequence. For complex branching, use Make’s visual builder. Store the reply status in your sheet or CRM. This prevents future runs from resending.
- Configure global stop rules and tracking
Stop rules prevent embarrassment and spam complaints. Add conditions: stop if the lead replies, stop if the lead unsubscribes, stop if the lead books a meeting, stop after three follow-ups. Without stop rules, your workflow may send forever. A person who booked a call should never get another reminder.
Add a tracking pixel or UTM parameters to links. This shows opens and clicks. Some tools like n8n can log events to a Google Sheet. You can also use Postmark or SendGrid for better deliverability. Free tiers often lack detailed analytics, so log the basics yourself. A simple sheet with email, status, and sent date is enough.
Send a test to yourself first. Use a seed email address that is not on your real list. Check spam folder, link rendering, and merge field output. Do not skip this step. A broken merge tag like ‘Hi {{firstName}}’ looks worse than no follow-up. Then move to the final activation step.

- Test, activate, and monitor the first 30 days
Before activation, run the workflow once with a dummy record. Confirm that the delay works. If you wait 3 days, you can shorten it temporarily to 1 minute for testing. Then change it back. Many platforms let you test with sample data. Do not test with real leads.
Activate the workflow during a low-risk window. For example, activate for five new leads first, not your entire list. Monitor the first few runs daily. Check logs for errors, timeouts, or missed triggers. If something fails, pause and fix before scaling up.
After 30 days, review reply rates. If replies are under 10%, adjust the subject line or offer. If spam complaints rise, reduce frequency. Self-hosting n8n on a cheap VPS can reduce per-run costs once volume grows. See self-host n8n on a $5 VPS. Document your workflow with screenshots and notes. This makes it easy to rebuild later.
Now you have a repeatable email follow-up machine. Keep your copy fresh and your list clean. Rotate subject lines every few months. Test one change at a time so you know what works.

Red Flags & Warnings
- 🚨 Never send automated follow-ups to purchased or scraped lists. Consent is required under GDPR and CAN-SPAM.
- 🚨 Do not set the delay to 1 day for cold outreach. It feels desperate and increases spam complaints.
- 🚨 Always test with a seed email address before activation. Broken merge tags or missing unsubscribe links can destroy trust.
- 🚨 Check your platform’s free plan limits before testing. A single scenario can burn hundreds of operations or tasks.
- 🚨 Avoid no-reply sender addresses. They hurt deliverability and prevent real conversations.
- 🚨 Set a maximum of three follow-ups. More than that rarely helps and can flag you as spam.
Frequently Asked Questions
What is an email follow-up automation?
It is a no-code workflow that sends timed, personalized follow-up emails after a trigger event. The workflow typically includes a delay, a message template, and conditional branches for replies. It runs automatically until a stop rule is met.
Which tool is best for email follow-up automation?
n8n and Make offer the most control and generous free plans. Zapier is simpler but has fewer tasks on the free plan. If you need self-hosting or complex branching, choose n8n.
How many follow-up emails should I send?
Three is a safe maximum for cold outreach. For invoices or warm leads, two follow-ups are enough. Send the first after 3 days, the second after 7, and the third after 14.
Can I automate follow-ups with Gmail free tier?
Yes, you can connect Gmail to n8n, Make, or Zapier via OAuth. However, Gmail’s sending limits apply. Usually that is 500 emails per day for free Google Workspace accounts.
How do I avoid follow-ups going to spam?
Use a real reply-to address, keep HTML minimal, avoid spam trigger words, and include an unsubscribe link. Warm up your sending domain if you send high volume. Test with a seed inbox first.
What data do I need to personalize emails?
At minimum you need the recipient’s email address and first name. Company name, last interaction date, and lead source improve personalization. Store these fields in a sheet or CRM before building the workflow.
What Should You Remember?
- Trigger: Start with a clear event like a new lead or sent email. A clean trigger prevents duplicates.
- Delay: Set a 3-day wait before the first follow-up. Longer delays feel more human.
- Branches: Check for replies before each send. Stop the sequence when someone responds.
- Merge fields: Use {{firstName}} and {{companyName}} for personalization. Test every field before going live.
- Stop rules: Cap the sequence at three follow-ups. Include unsubscribe and reply conditions.
- Monitoring: Review logs and reply rates in the first 30 days. Adjust subject lines and cadence based on data.
This article is for general information only. Review your workflow data and the permissions you grant to connected tools before you enable automation. Some platforms have free-tier limits and paid plans that change over time , always check current pricing and plan limits on the vendor’s site before you commit.